Summer is about to come to an end soon, so let's wrap it up with a nice, juicy, and delicious barbecue feast! Recipes and flavors are truly important when it comes to grilling, but what makes them work are the techniques used. Here are some grilling tips you can take notes from for a successful grilling feast with your friends and family!
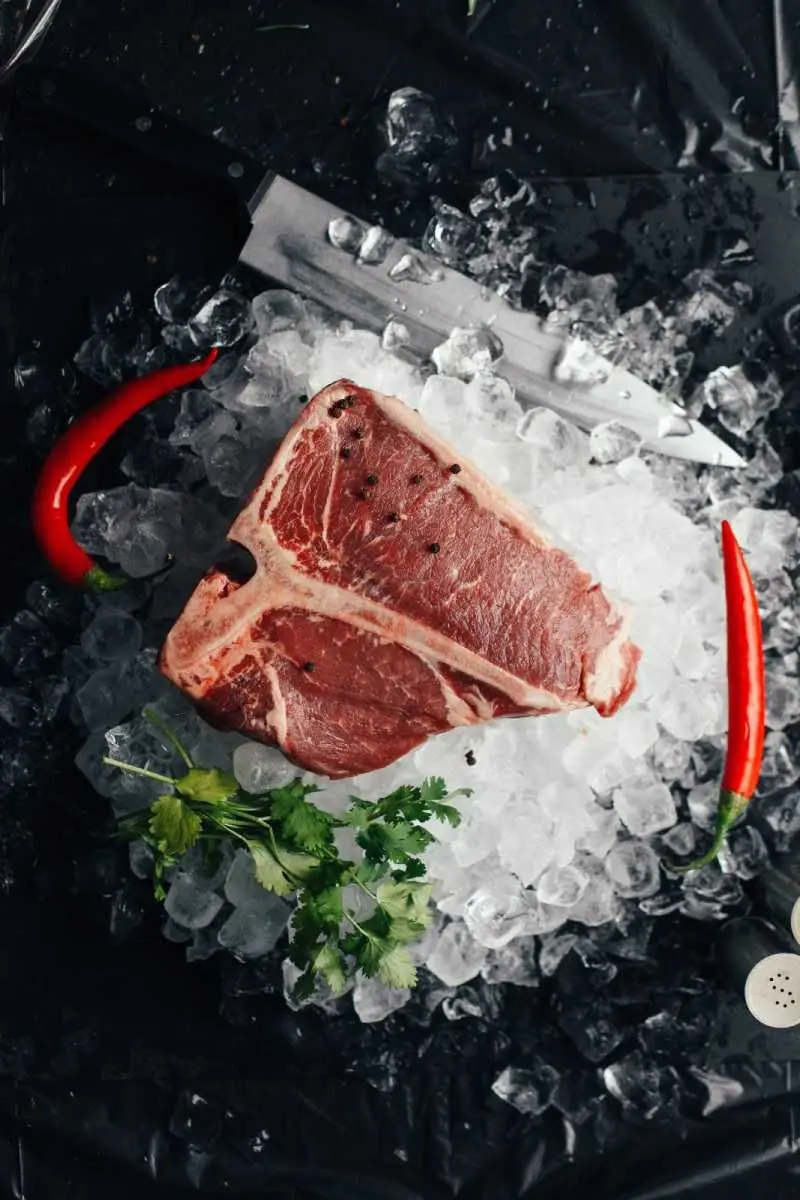
Photo by Victoria Shes on Unsplash
1. Preheat the Grill
Preheat your grill for 10-20 minutes to make sure that it reaches the right temperature and to kill any bacteria in the grill grate. Your grill should reach 500°F with its lid closed. For high heat, it will range from 400-450°F and 250-300°F for low heat.
Heat helps loosens bits of food left on the grill grate and makes it easier to brush them off. Preheating also helps prevent food from sticking to the grate and it gets the grate hot enough to sear properly.
2. Warm the Goods
Let the meat sit at room temperature for 20-30 minutes if it came out of the fridge. The colder the meat is, the longer it will take to cook. The key for the perfect steak is to cook it at a high temperature for a short amount of time.
3. Grill Grate Maintenance
A clean grate can make grilling easier for you. Invest in a good grill brush and clean your grill up before and after each session. This is not only for the cleanliness of your grill, but cleaning your grill grate helps food prevent from sticking!
4. Tame the Flame
How do flare-ups happen? It’s from the food’s fat that drips to the heat source and catches fire. Flare-ups can burn your food, so if your grill has a lid, keep it on since this helps limits the amount of oxygen inside the grill. If you find the flames getting out of control, move the food to indirect heat until the flames die down.
Sign Up for free Get the first to receive the latest listing updates, save favorites & much more by signing up.
If you already have in account, SIGN IN.
5. Don’t Move the Food
Moving, flipping, and even poking the meat before it’s ready will make it stick to the grates. Let it first develop a sear crust before tossing and turning it. To check on the doneness of the food, especially meat, use a thermometer or the palm of your hand.
For the palm of your hand trick, using your index finger, place pressure where the thumb meat your hand--it’s rare. On the area between the thumb and your palm, it’s medium, and if it’s similar to the middle of your palm, then it’s well-done.
6. Let it Rest
Wait for at least 5 minutes before slicing when the meat gets off the grill. This gives the juices a chance to settle back into the meat. Place them in a cooling rack to allow enough air to circulate underneath and around the meat!
7. Marinate the Meat
Aside from saucing as you grill, marinating the meat at least hours before grilling or overnight allows it to infuse the flavors. It also helps tenderize the meat plus it locks in the moisture so your meat doesn’t dry and toughen up.
8. Use a Grill or Oven Mat
Keep it more clean by using a grill or oven mat. Just toss it in the dishwasher after use and you’re good to go. It’s also great for small or bite chunks of food that you want to grill. These mats makes it convenient and easier to meet your grilling needs!
We hope this guide will help you for a successful and delicious summer grill with your loved ones! Are you looking for a place to swim before summer ends? Visit our blog about the Best Swimming Spots in Austin, Texas!
Posted by Ryan Rodenbeck on
Leave A Comment